One of my current students is having some health challenges that makes it difficult for them to read and also difficult to read off a screen.
This has rekindled an interest in audio-based education. I was of course reminded of Zig Ziglar’s Automotive University which was how he affectionately referred to audio-based instruction delivered on cassette tapes which most people ended up listening to in their cars. In this return to audio-based instructional design, I turned to several books but the one I found most helpful was Selecting and developing media for instruction by Ronald H Anderson from 1976.
The need to develop audio-based instruction is back on my to-do list and there are several considerations.
The constraints on the students, the specific learning objectives for each lesson, the content itself and the need to still chunk the audio lessons, and the specific technology choices.
The constraints on the learners: With the cost of producing media dropping so rapidly it is just about as easy to create a video as it is to create audio. So why create audio? There are several considerations that force the issue. One obvious need for audio-based instruction is if the students aren’t able to easily read or view video such as with my current student. Another consideration is where will the learner be physically? This pulls right back to Zig Ziglar’s Automotive University. Audio lessons for employees in the field that can be played while driving can be very valuable.
The Specific Learning Objectives: Those who may be tired of the Clark & Kozma debate should already know that Clark argues that any medium can be used to teach anything and that Kozma argues that things are sometimes easier in one medium over another. Audio-based instruction fits into this lens well. Audio can be used to teach anything with enough effort and there are some learning goals that the use of audio can make easier. This is especially true if the students will need to be doing something else physically that is directly related to the learning objectives. This might be a “walk-through” where a process is described and the learner would be freed physically to perform the action. Finally, another example might be an audio walking tour where the student would walk through a physical space as it is described.
Content-wise there also several considerations. There needs to be a focus on minimizing distractions which is a significant risk with audio, especially with the temptation to use background music or overuse sound effects. Audio content should be scripted and as the script is developed an important consideration is the balance between the need to explain in the moment and the risk of going off on tangents which can detract from the overall flow. While audio can be used in interactive media the core of audio-based materials should be made to be linear in nature. Learners will not pause and jump to a glossary if they need to have a term defined so ideas such as this need to happen at the moment the term is used. Finding this balance takes practice. In addition, it’s important to consider the importance of chunking the content. It is important to build in time for reflection and logical places for breaks. While I often express a warning about the overuse of sound effects having a tone or the use of a “stinger” to borrow from television. A stinger is often used to signal the end of a scene in a TV show and you’ll hear them if you listen for them. They generally last only a few seconds. Even if you have a longer recording having a stinger at the end of sections can give your students a clear indication that this is a place to pause the playback and take a break.
The last consideration then is are the technology choices. When considering the technology choices I again start with the students and their situation. How much technology do the students have? These days though in most circumstances I have been finding that smartphone access is just about universal in the work that I’ve been doing. This leads me to lean heavily to the Podcast as an audio medium format. A podcast though is a specific media format and many incorrectly describe any digital audio as a podcast. However, a podcast has several key attributes most importantly is that it is delivered via an RSS feed and is downloaded not streamed. There are cases where streaming audio files are most appropriate, I’m thinking specifically of using QR codes to call up streaming audio files in front of specific paintings in a museum. But for most courses, a Podcast can work quite well. I’ve specifically been impressed with the work that Lindsay Padilla and her husband have done with https://www.helloaudio.fm/pricing where for $10 a month you can have a unique RSS feed for each student to allow for control and for just $60 a month you can have unlimited courses with a unique RSS feed for each student.
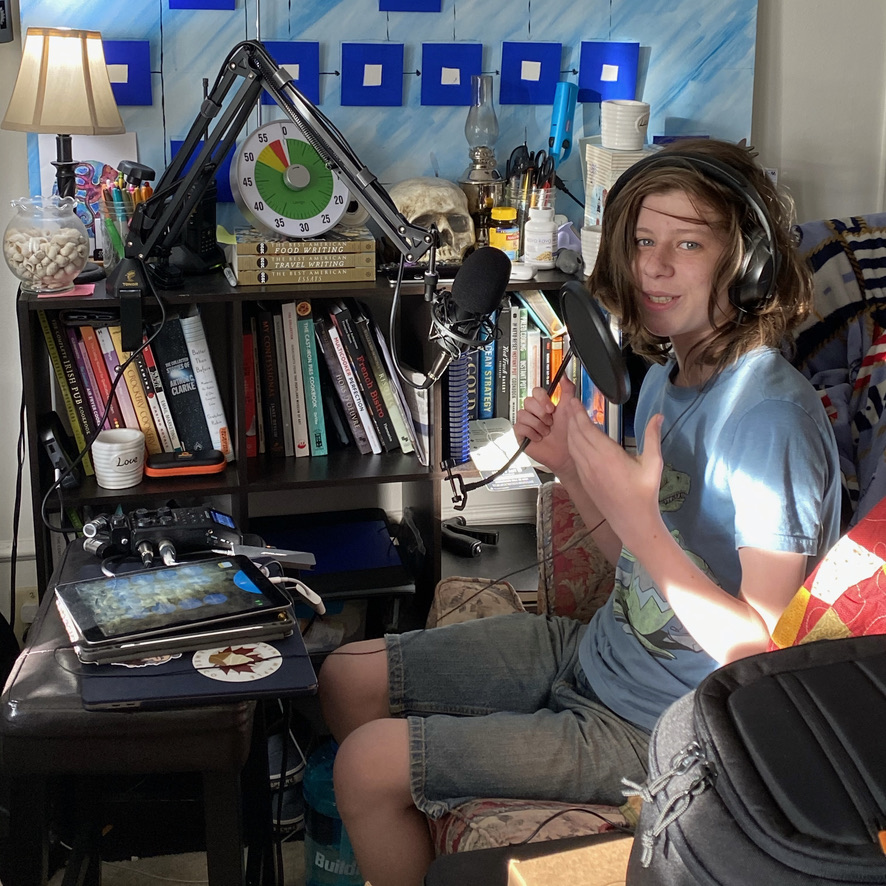
In addition to the distribution of the audio comes the technology to record and edit the audio. The easiest method may be to write the script and send it to a professional however there is a great deal of value in the literal voice of the instructor so I always encourage that recording. Even if you don’t feel comfortable I encourage recording your own voice. While an actual professional studio might be best it is out of the budget for most and so I tend to recommend a simple headset. Personally, I use an Audio Technica Broadcast Microphone and a Zoom H6 to do my recording. Software-wise I tend to start with Backpack Studio for the raw recording using the Zoom H6 in “ Audio Interface Mode” then I use Descript to edit the audio (once you’ve used it you’ll understand) and then finally Adobe Audition to do a final polish if needed.
The key is clean audio recording, this requires minimizing background noise as much as possible. I have several quality microphones in my office, which is also my living room, and if I were to just use them you’d hear my teenage boys taking in the kitchen and you’d also hear the refrigerator’s motor running, the water flowing through the pipes in the wall (we live in an older building) and the noises of the city in general. There are times when these background noises can be useful, they are extremely rare with instructional audio. There are essentially three methods I use outside of the use of a professional studio (which is dreamy if you can pay for it) to deal with background noise. First is the “Grandma’s Quilt Method” which literally involves throwing the quilt over your head and the microphone. This will reduce the background noise and the echo. There are also small boxes with acoustic foam where you can place a microphone that advertise the same effect. Given that my mother taught quilting I will let you guess which method I used. The second method is the “In the Closet” method. This method involves you crawling into the closet and record sounded by the hanging clothing which serves much the same purpose as the quilt. I have been assured of course that going into the closet to record audio by no means makes you a member of the “alphabet mafia”. The third method is to simply let the background noise through. This will, of course, be a distraction to your students but ambient noises are often forgiven and intrusive noises can be removed in post production or acknowledged in the audio. I have, more time than I’d like to admit, have acknowledged my cat yelling by telling my students “And of course Apollo the Cat agrees” and then I simply move on.
There is so very much to consider when developing audio-based instructional materials. The core components of instructional design still apply as do critical media design principles. There are also considerations to take into account regarding the formality of the media to be produced and the method of distribution. Yet in the end, it simply takes practice. Which makes my own advice regarding audio-based instruction to be record audio as often as you can and get those hours in.
Leave a Reply